Showing posts with label chaos space marines. Show all posts

Monday, February 18, 2013

even more

I know that I haven't been able to post much lately but I did happen to through together a little progress on my titan. starting with the main body, I was able to add the shoulder section to the main body along with two large component that rest on the back half of the titans body behind the shoulder covers.


Here we have a couple shot of the rear shoulder section,


Next we have a couple shots of the main body with just the rear shoulder sections


and now a size comparisons with Typhus in all his unpainted spender.


Here is one more beauty shot of  everything so fare, next should be the main head section than the weapons which i am looking forward to doing. I hope to have more soon. 

Friday, December 28, 2012

jumping forward

Now that winter brake is upon us, I have been making a huge leaps in my work on my warhammer titan. I have not been able to post much since brake stated because of a lack in internet access. So now that I have the chance I intend to make the most of it. as you may know from previous entry  I have been taking on the challenge of making a warhammer titan, as you can tell from my post, that progress is slow.

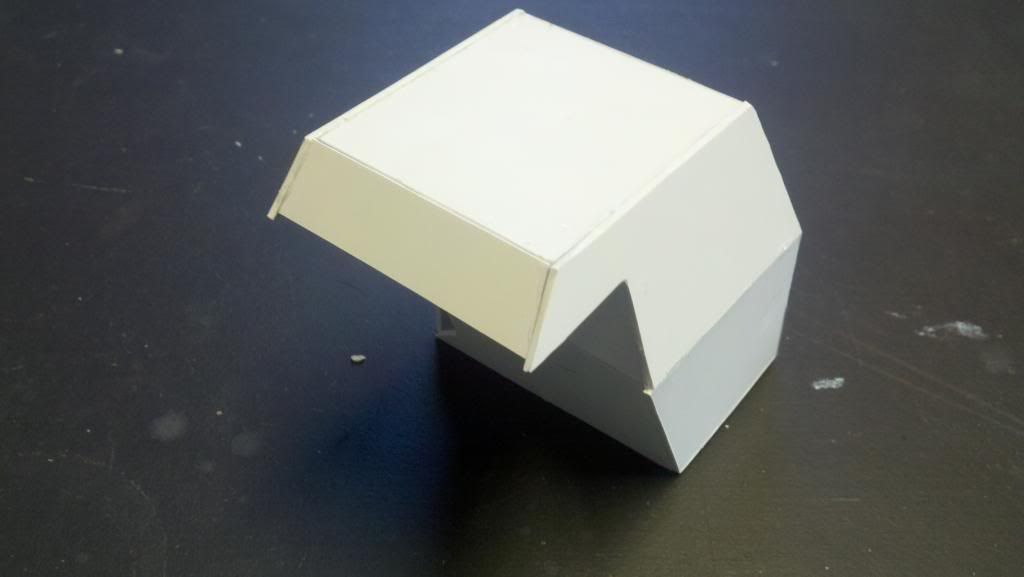
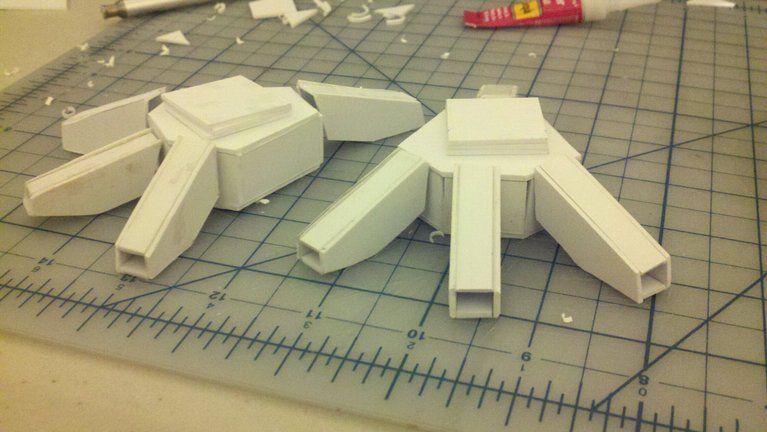
luck would have it that today I am able to cache you up on some of my progress of the last mouth. when I last left off, I had just finished working on the feet of the titan, I had most of the shapes cut out and was able to glue most of the little parts together.
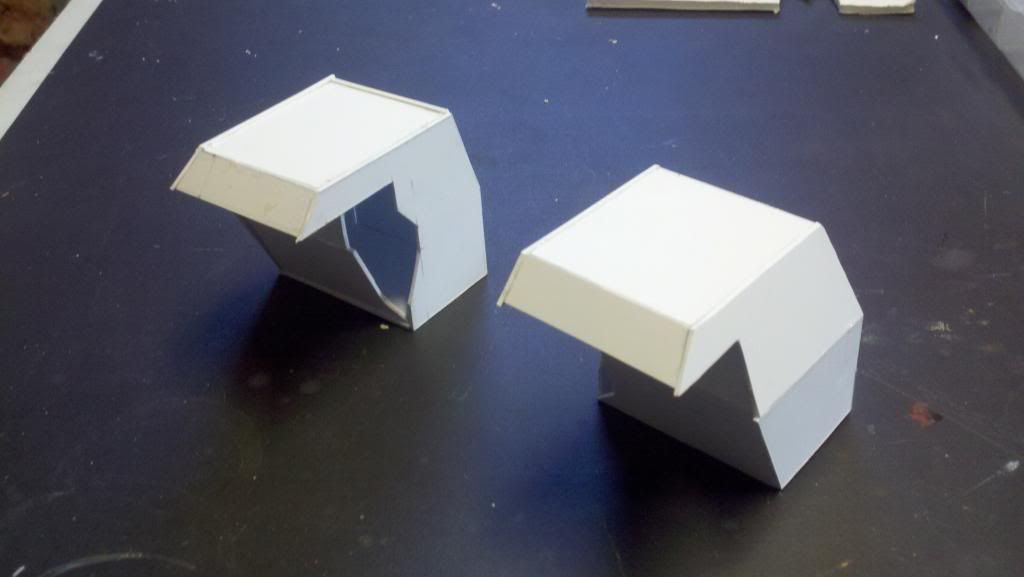
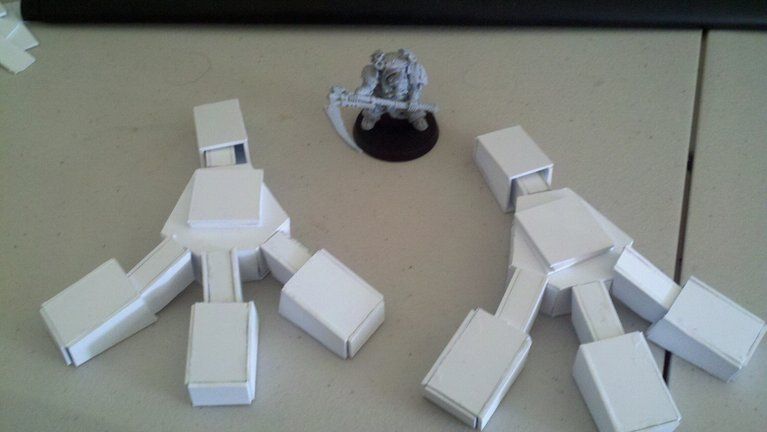
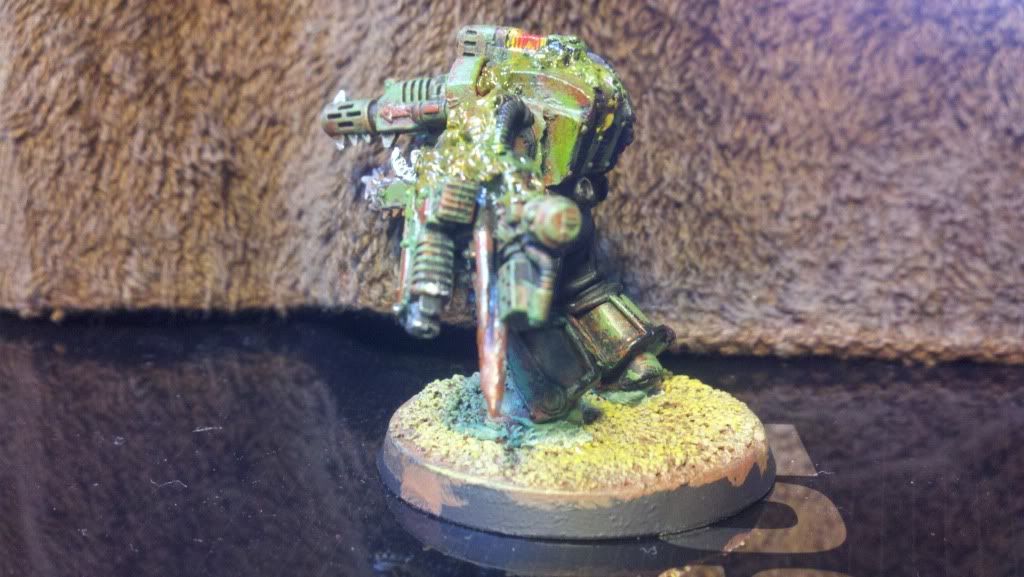
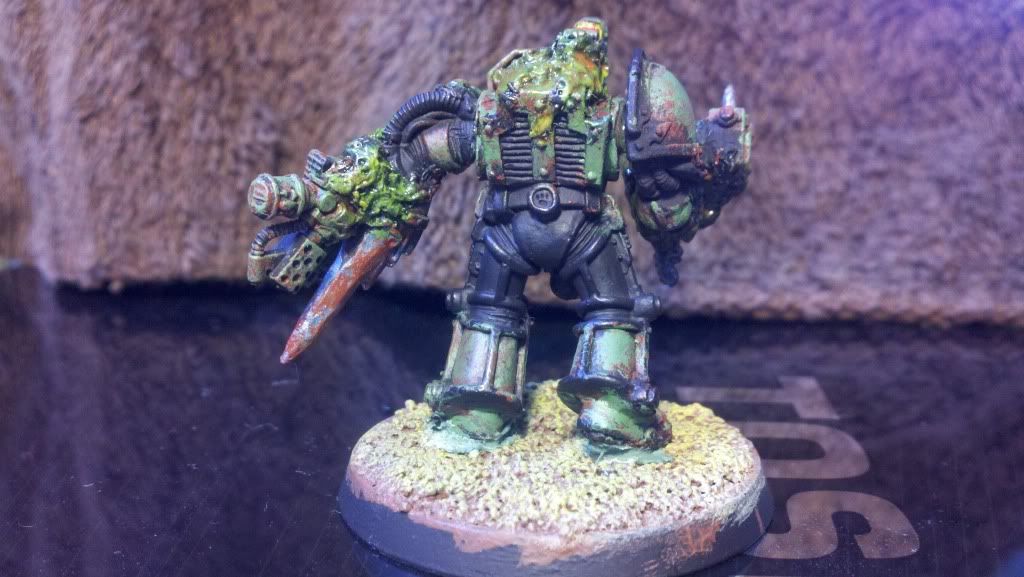
Here we have my two feet with Typhus 


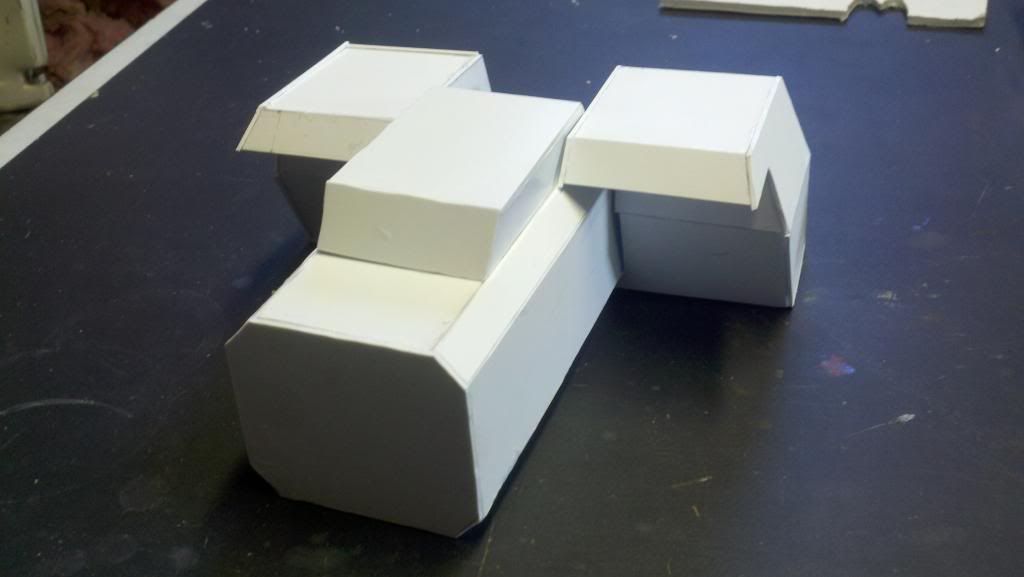
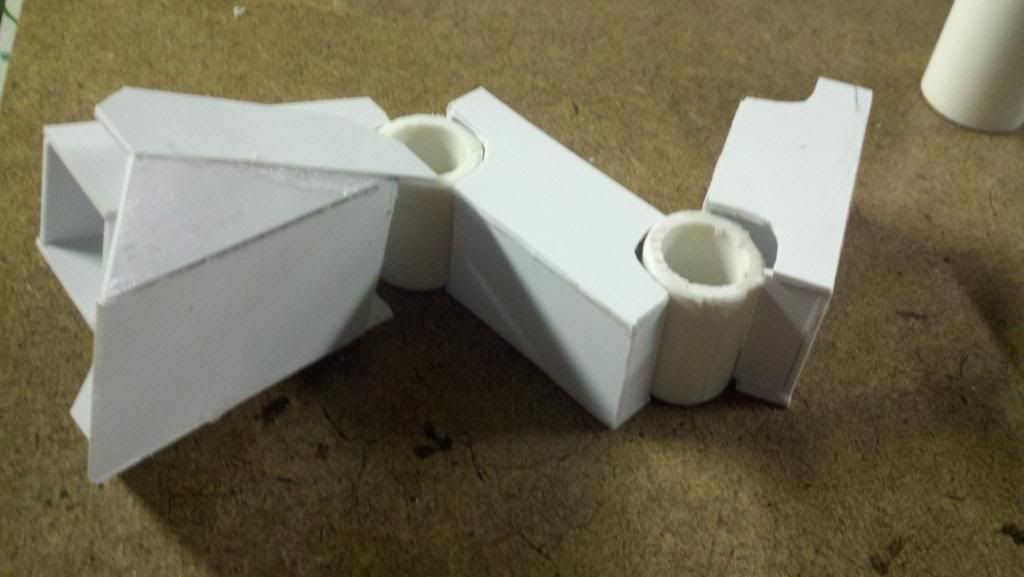
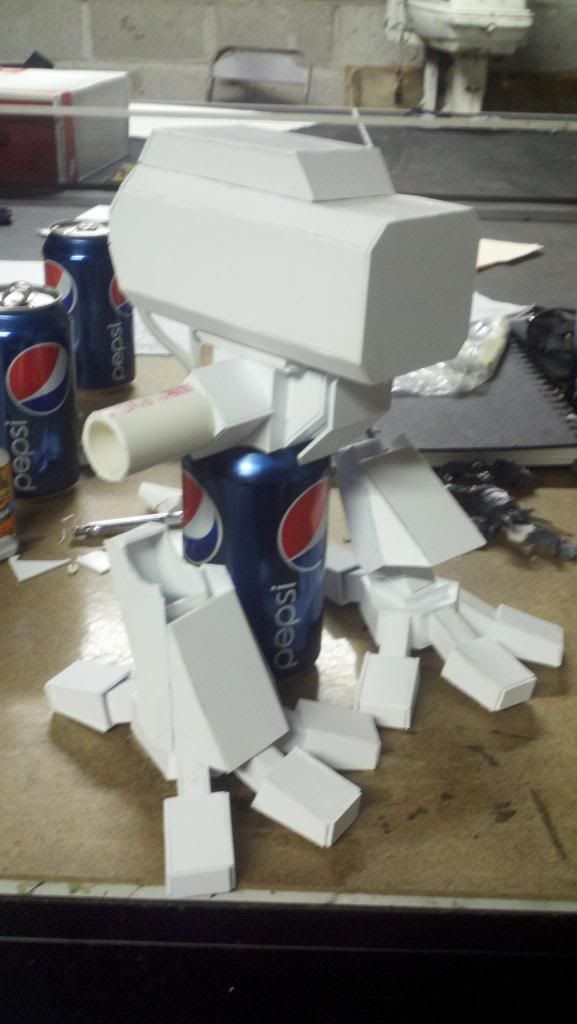
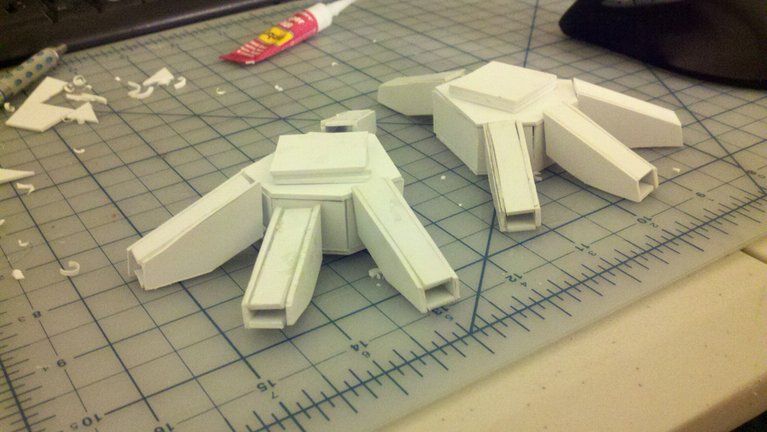
my next undertaking was the legs.


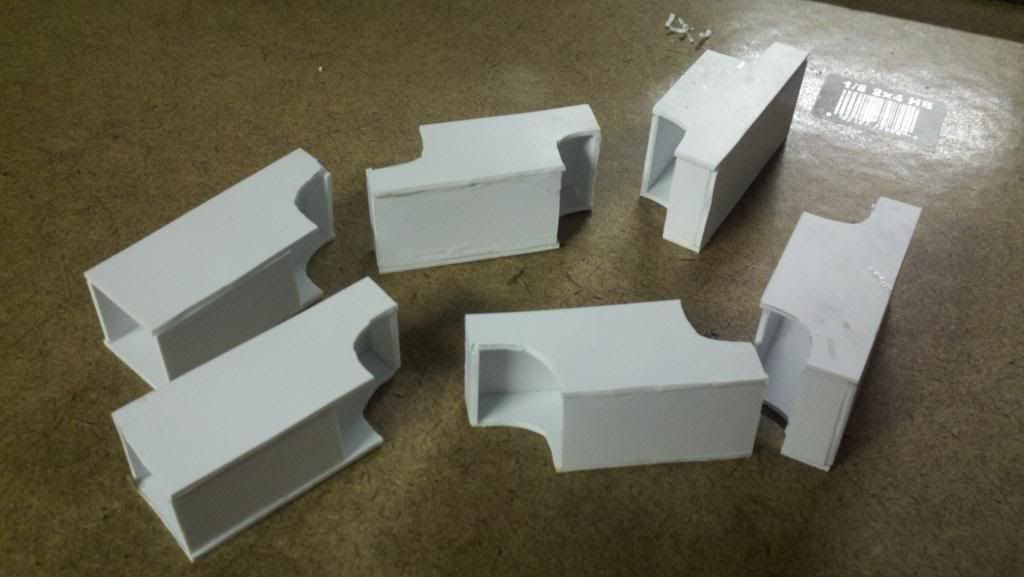
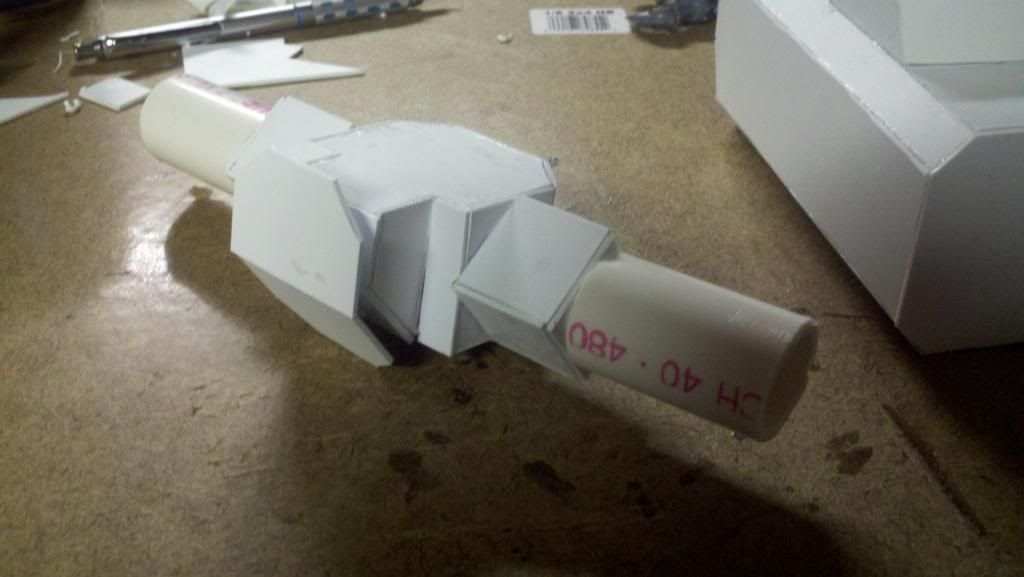
I than added the armor section to help protect the lower potion of the leg along with some PVC pipe to work as the joints, I haven't been able to glue these section together yet because of basing reasons. 


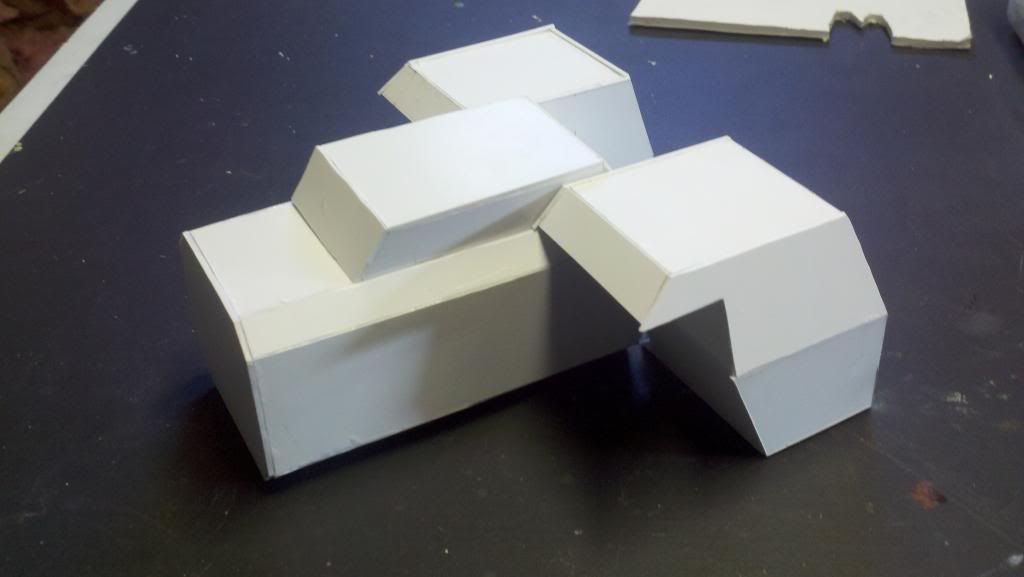
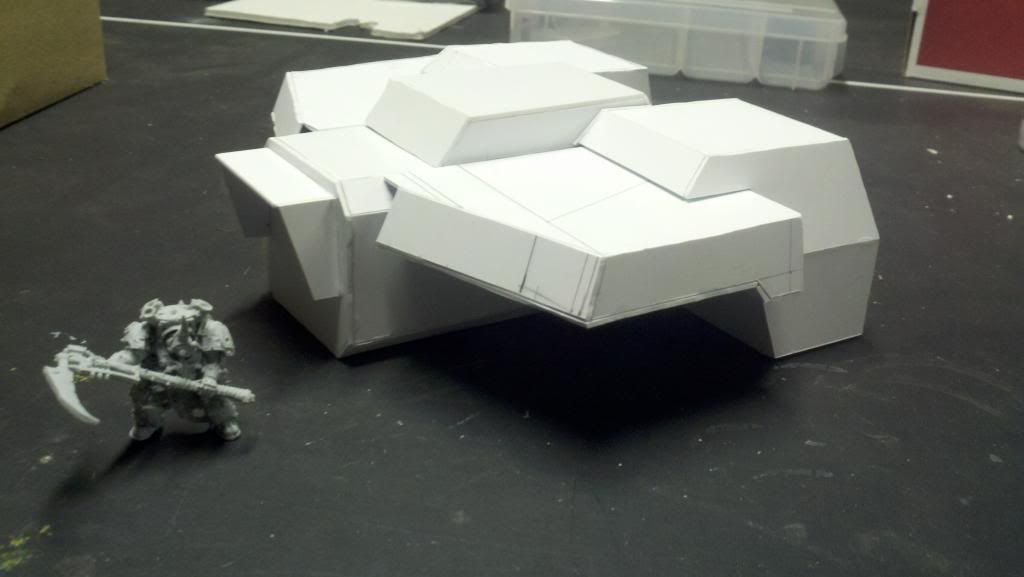
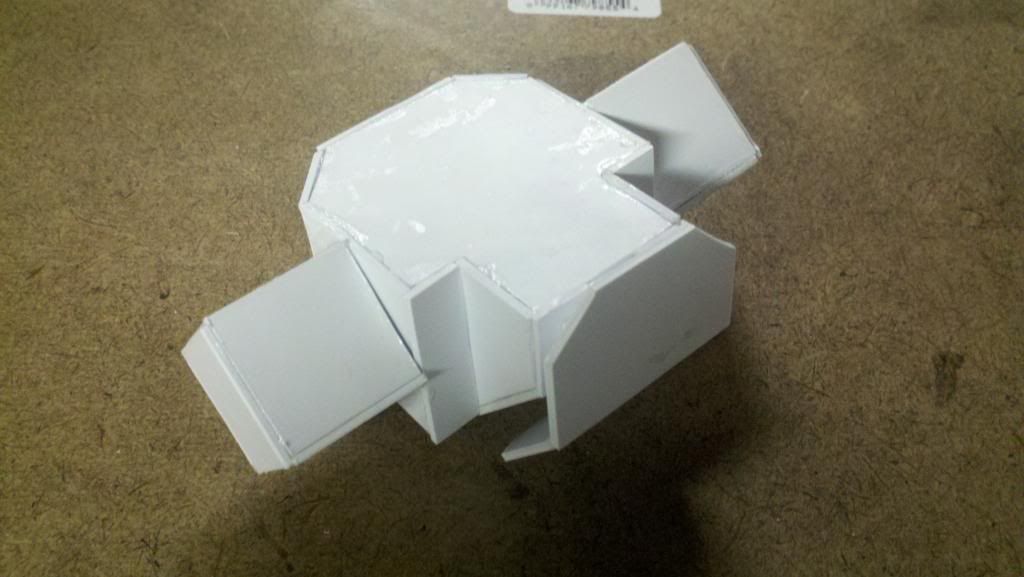
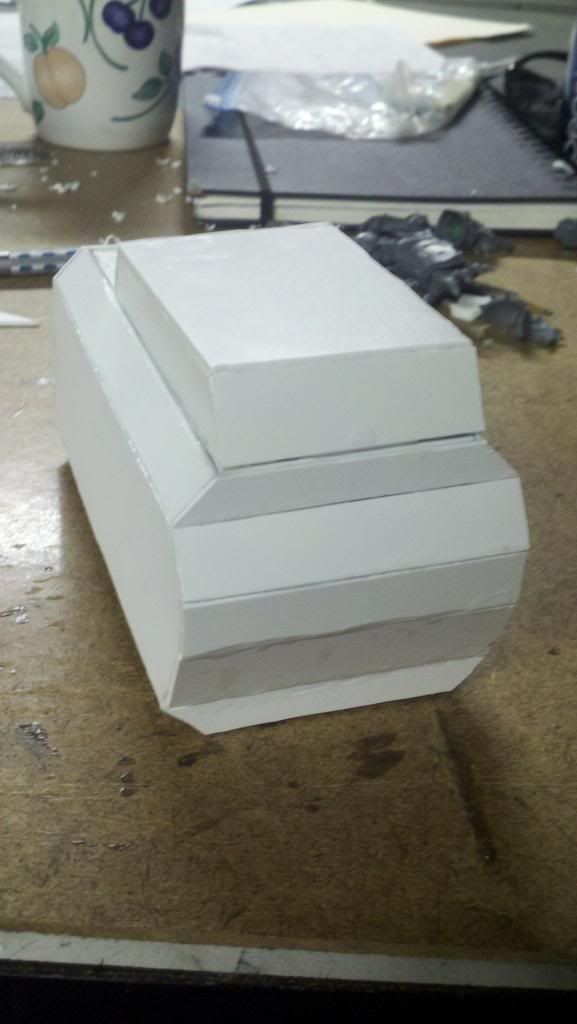
I than was able to start on the lower body of the titan, the pelvic area if you will, I found this area to be the most difficult because of the way this piece is shaped. 


I also added some PVC pipe to attach to the legs when they were ready. 


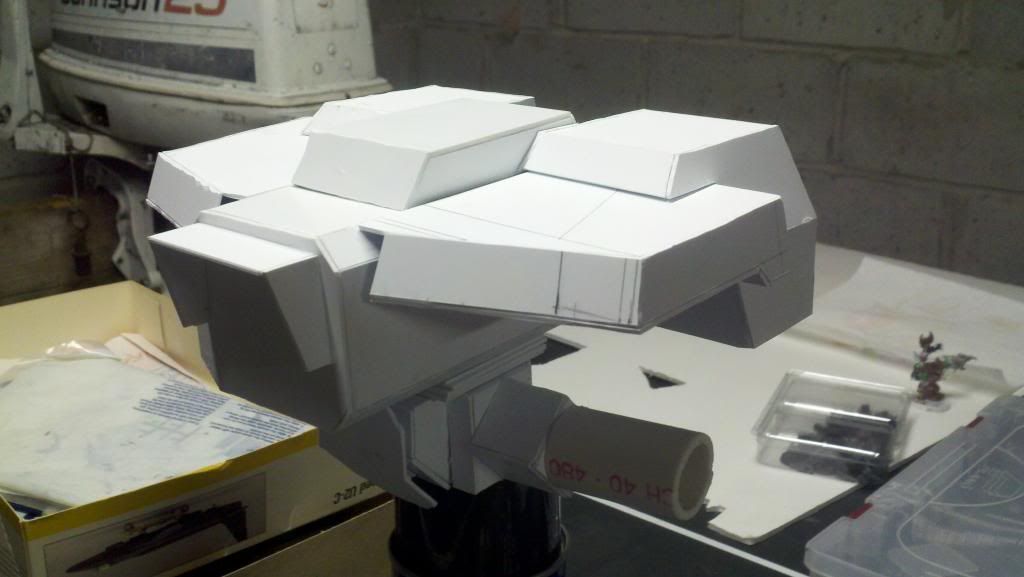
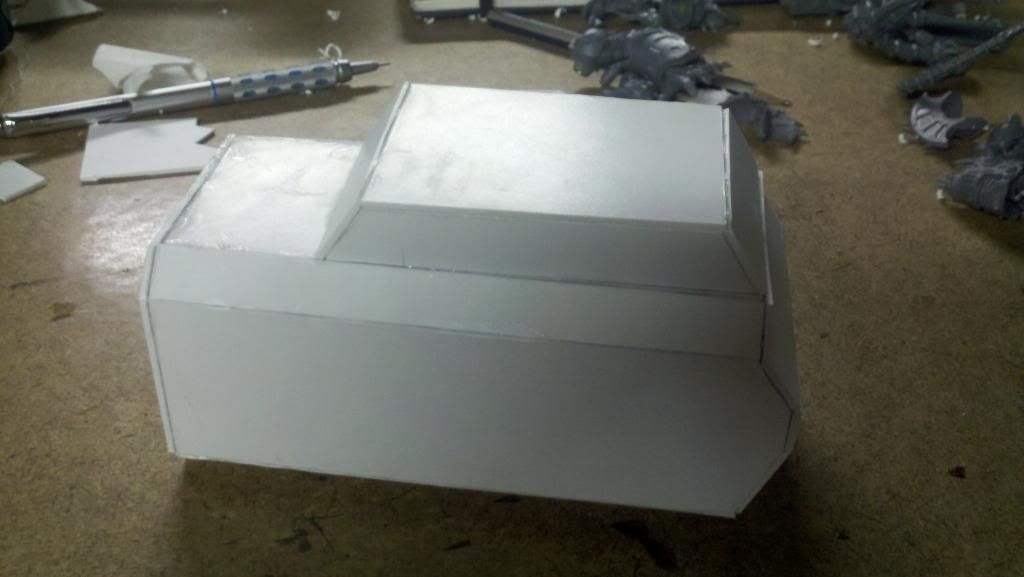
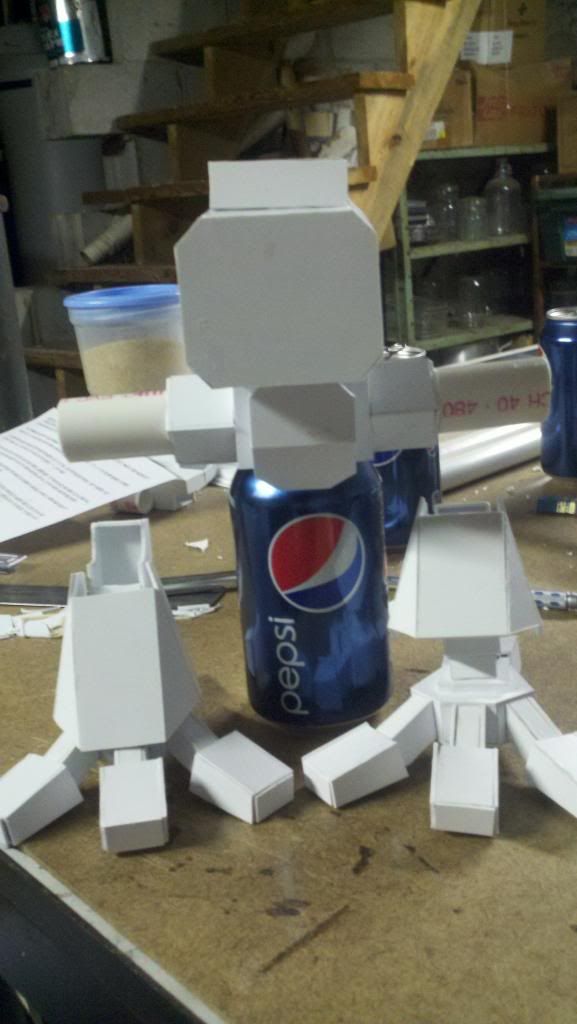
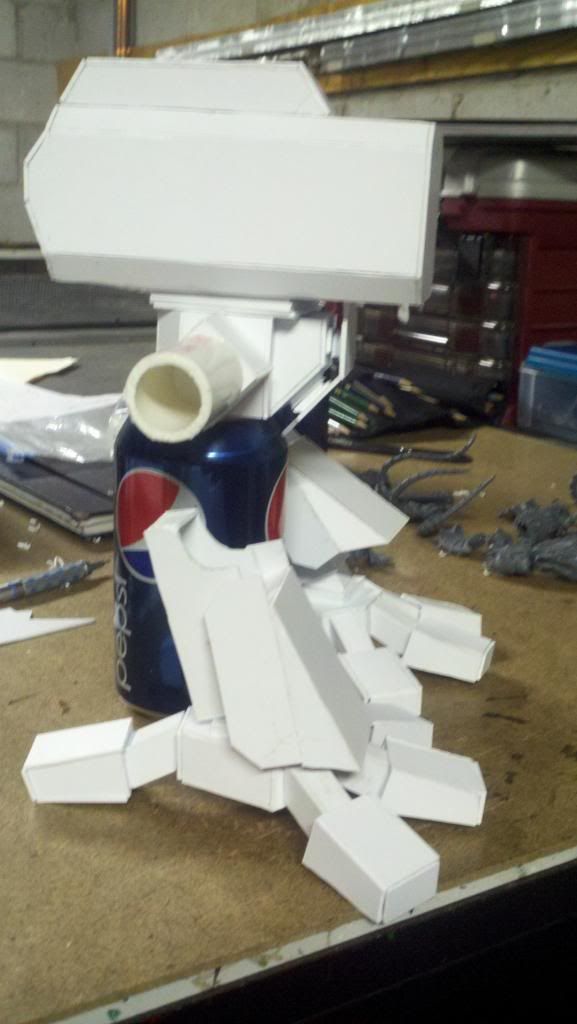
the main body of the Titan was fairly simple compared to some of the other sections because the its large size and simple design which made building it fast. 


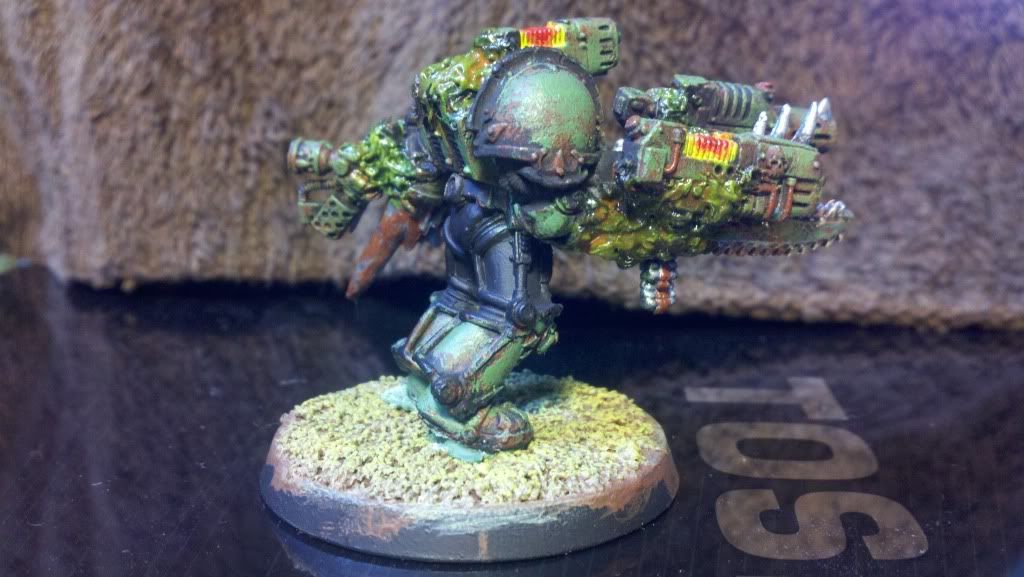
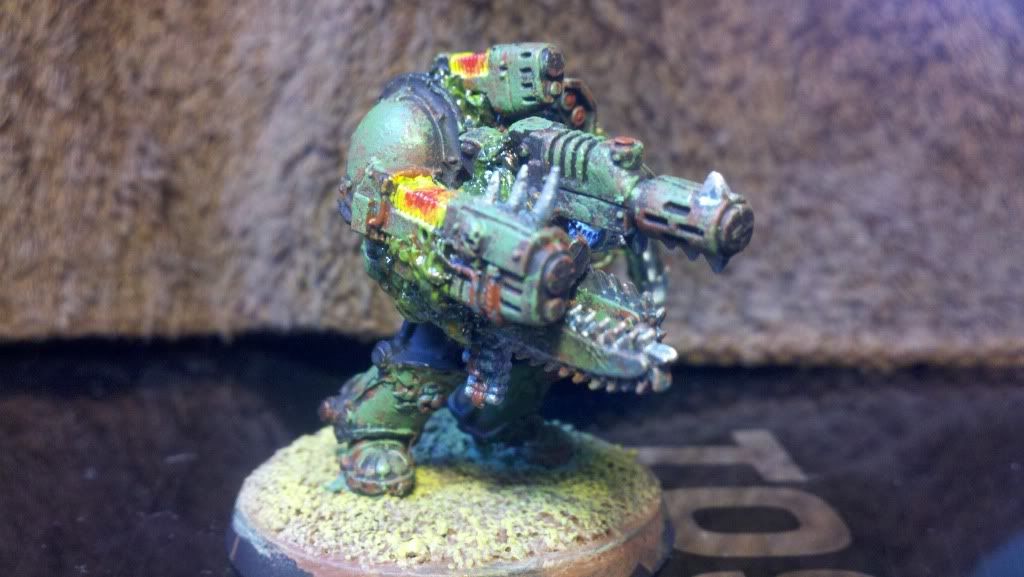
for the last couple pics I decided to stand them up to get a better view of how they looked as a hole.


It may not look like much yet but with the progress I have been making on it I am hopping to have the main body ruffed out by the end of brake which is coming vary fast for me.

Thursday, October 25, 2012

small steps

I am still making little progress with my chose titan but I haven't forgotten about it. it is like a lost puppy eyeing me from across the room.

I also was able to get my hands onto the new Fine cast Typhus model so now I have some one to oversee the construction of the Titan. i think i need to find a rhino or some thing to be crushed beneath my titan. maybe one of them sisters of battle  penitent engines.


I'm also looking into getting some of the new Chose models mainly the Forgefiend or Maulerfiend. hopefully I will be able to magnetize them so I only need to get one for now.

Saturday, September 15, 2012

Bigger and Better

Well I finally started something that I had been planing on doing for a long time and I was surprised how quickly it has been coming together. The following images are the first glance of my first attempt at making a Titan of my vary own. this model is going to be of a Warhound Titan, I figured that I would start with a smaller model for my first titan.


It is my hope to be able to have the legs done by the end of the month and hoppfully I will be able to keep up with everything here. I am not following my own disign for this titan, but the planes I have look good so far. I got my planes from the web at http://www.scribd.com/doc/13762978/DIYWarhoundTitanPlansTemplates if anyone would like to try them out for themselves I plan on following throw the whole packet to make my titan than I will use Green Stuff to customize the final product to give it more of a Nurgly feel.

Friday, October 14, 2011

Obliterator

well I finely sat down and Finished my Obliterator, and I think it came out pretty good.


It's looking good but I think I still need to make a few more tweaks before I can call it done. 

Friday, September 16, 2011

Wednesday, September 14, 2011

Terminators

As I said before, I posses some Terminators. I had a set of five metal ones, along with a set that comes with the black reach starter set. I haven't made any progress on the three metal terminators that I am not converting, but I have made progress on the ones that came with the assault on black reach set. 


The only modification I've made to these models is some battle damage i made with a wood burning tool. I use it to make a gunshot impression on the model as shown above. 

I also have been working on a Terminator Lord to lead them into battle.

Tuesday, September 13, 2011

Obliterator

I've resintly started work on a new unit, I had 2 incomplete metal Terminator's laying around, both missing a left arm, so I decided to use some of my other bit's to make them into Obliterator Cult units. I used one of the demonicly posesed space mariens arms as the base for his right arm thin added a bolt gun and a flamer. for the other arm i added two chain swords a meltagun and a plasma gun.

I also added a Plasma Pistol and targeting system to the top of my Obliterator.


My next step will be to add green stuff to both arms to cover any seems before priming.

Demon Prince of Nurgle


One pice that I am expecholy prode of is my Demon Prince. 


As you can see, I haven't modified him, but i think that the paint came out rather well, I used colors that mach the style of the purge and I feel that he fit's in vary well with the rest of my army.

Monday, September 12, 2011

Dreadnought


This is some progress on my first attempt at making a dreadnought. it is the one from the assault on black reach starter set, but I added the Nergle rot to his main body and gun arm.

the first two pics are just of him with a base coat of white.


these next three are after I painted him. I used a layer of rust covered by an olive green. I don't have any games workshop paints, I am using a brand called Testors.


he is about done now, i just need to finish the rot that is covering him and do something with the base. 

for the bases i was thinking of a swamp type look. 

Sunday, September 11, 2011

My Army

For my First army I have chosen to make an army dedicated to Nurgle, The Great Lord of Decay.

As far as the paint skim goes, I have chosen to paint my army in the style of The Purge, who paint their armor black with green shoulder pads and boots. I still don't know much about this faction except for what little I've gotten from the codex but I like the look of it. 


This is just an example of one of my space marines. I still need to finish the base and touch up the bolter.